1. Open Fax Voip T.38 Console Control Panel.
2. Click Outgoing Methods in TreeView, then click Print.
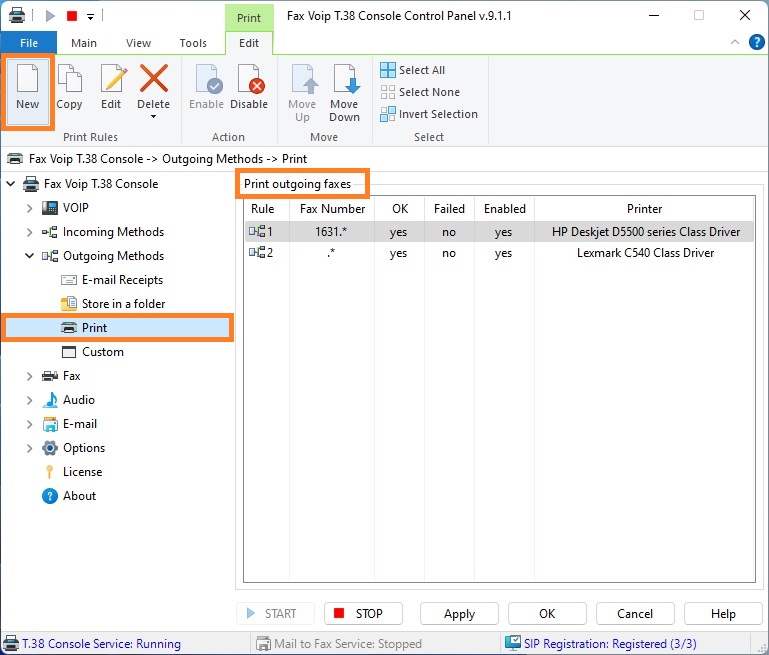
3. To create new rule click New. To edit an existing rule select it and click Edit (or double-click the selected rule).
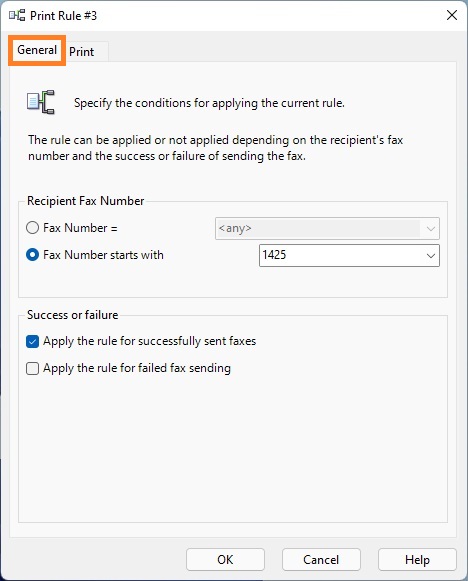
4. In the Print Rule window in the General panel, specify the recipient fax numbers for which this rule applies (in the Recipient Fax Number section). Specify whether the rule applies for successfully sent faxes or/and for failed fax sending. More details can be found in the chapter Print Routing Settings, General Settings section.
5. Switch to the Print panel.
6. In the Print panel, check After sending to print a fax to enable rule. in the Select Printers area, specify printers. The printer should be initially selected and then added to the Printer names list by using <Add> button. More details can be found in the chapter Print Routing Settings, Print settings section.
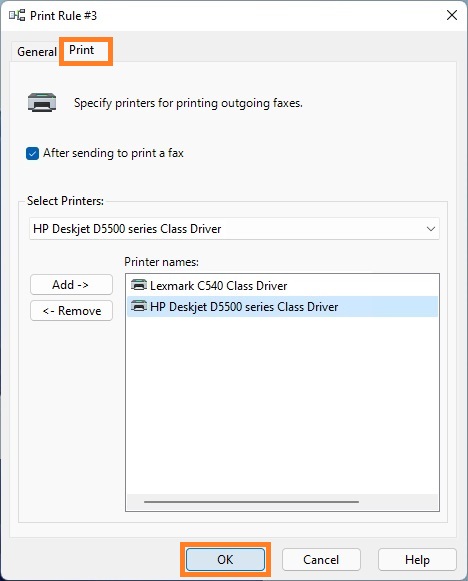
7. Click <OK> button to fix changes.
8. To change the preference order for Print outgoing fax routing method rules use Move Up and Move Down commands. One of the entries should be selected.
9. Click <Apply> button to save modified settings for Print rules. Do not forget to restart Fax Voip T.38 Console to operate with new settings. To do this click <STOP> button, then click <START> button.