VoIP Service Providers
When sending and receiving faxes over VoIP, it is strongly recommended to use VoIP service providers with T.38 support. T.38 - the most reliable standard used to transmit faxes over VoIP in real time. Isolates from the delays, timing jitter, and packet loss experienced in VoIP networks.
With Fax Voip T.38 Modem you also can send/receive audio faxes (fax over G.711 codec). This can be used with VoIP providers that don't support T.38 but provide good-quality voice channel.
Below you will find examples of VoIP (SIP) providers that support T.38.
T38FAX
T38FAX service allows you to send and receive T.38 faxes. This service provider also offers phone numbers in the United States.
Callcentric
Popular SIP provider in the United States. Callcentric supports both T.38 and audio faxes. This service provider also offers phone numbers in the US/Canada and many other countries.

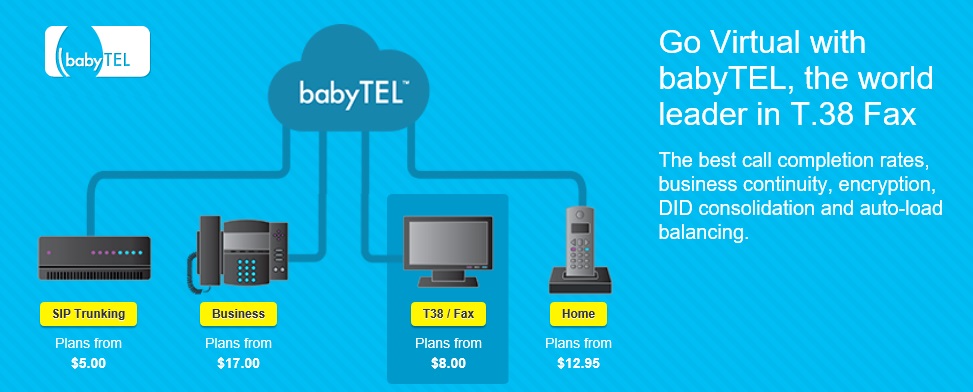
babyTEL
Popular SIP provider in the United States and Canada. babyTEL supports both T.38 and audio faxes. This service provider also offers phone numbers in the US/Canada.
MondoTalk
MondoTalk SIP service provider is located in Australia. MondoTalk supports both T.38 and audio faxes. Please note that we have tested T.38 only for outgoing calls to Australia.